
| News | CRT SCR$ | Randomize USR | Obscure HSC | Mag Quest | Trailblazers | ArchiveRL | @? |
 |
 |
 |
 |
 |
 |
 |
 |
 |
 |
 |
 |
 |
 |
 |
 |
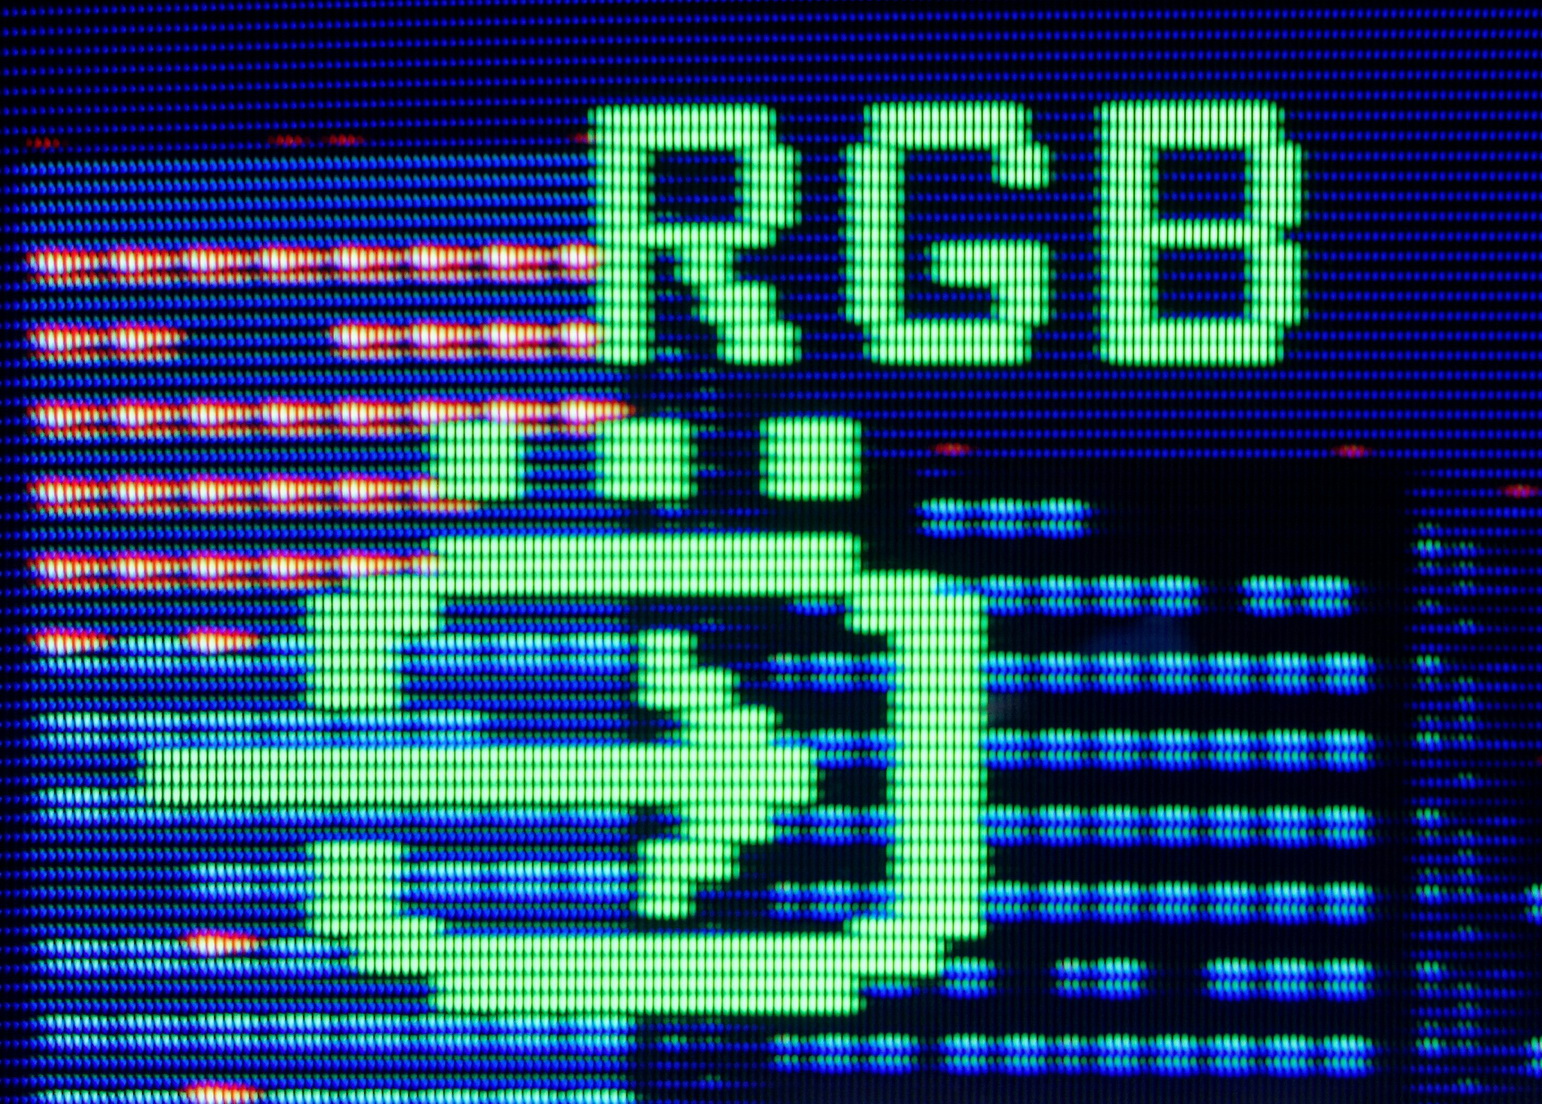
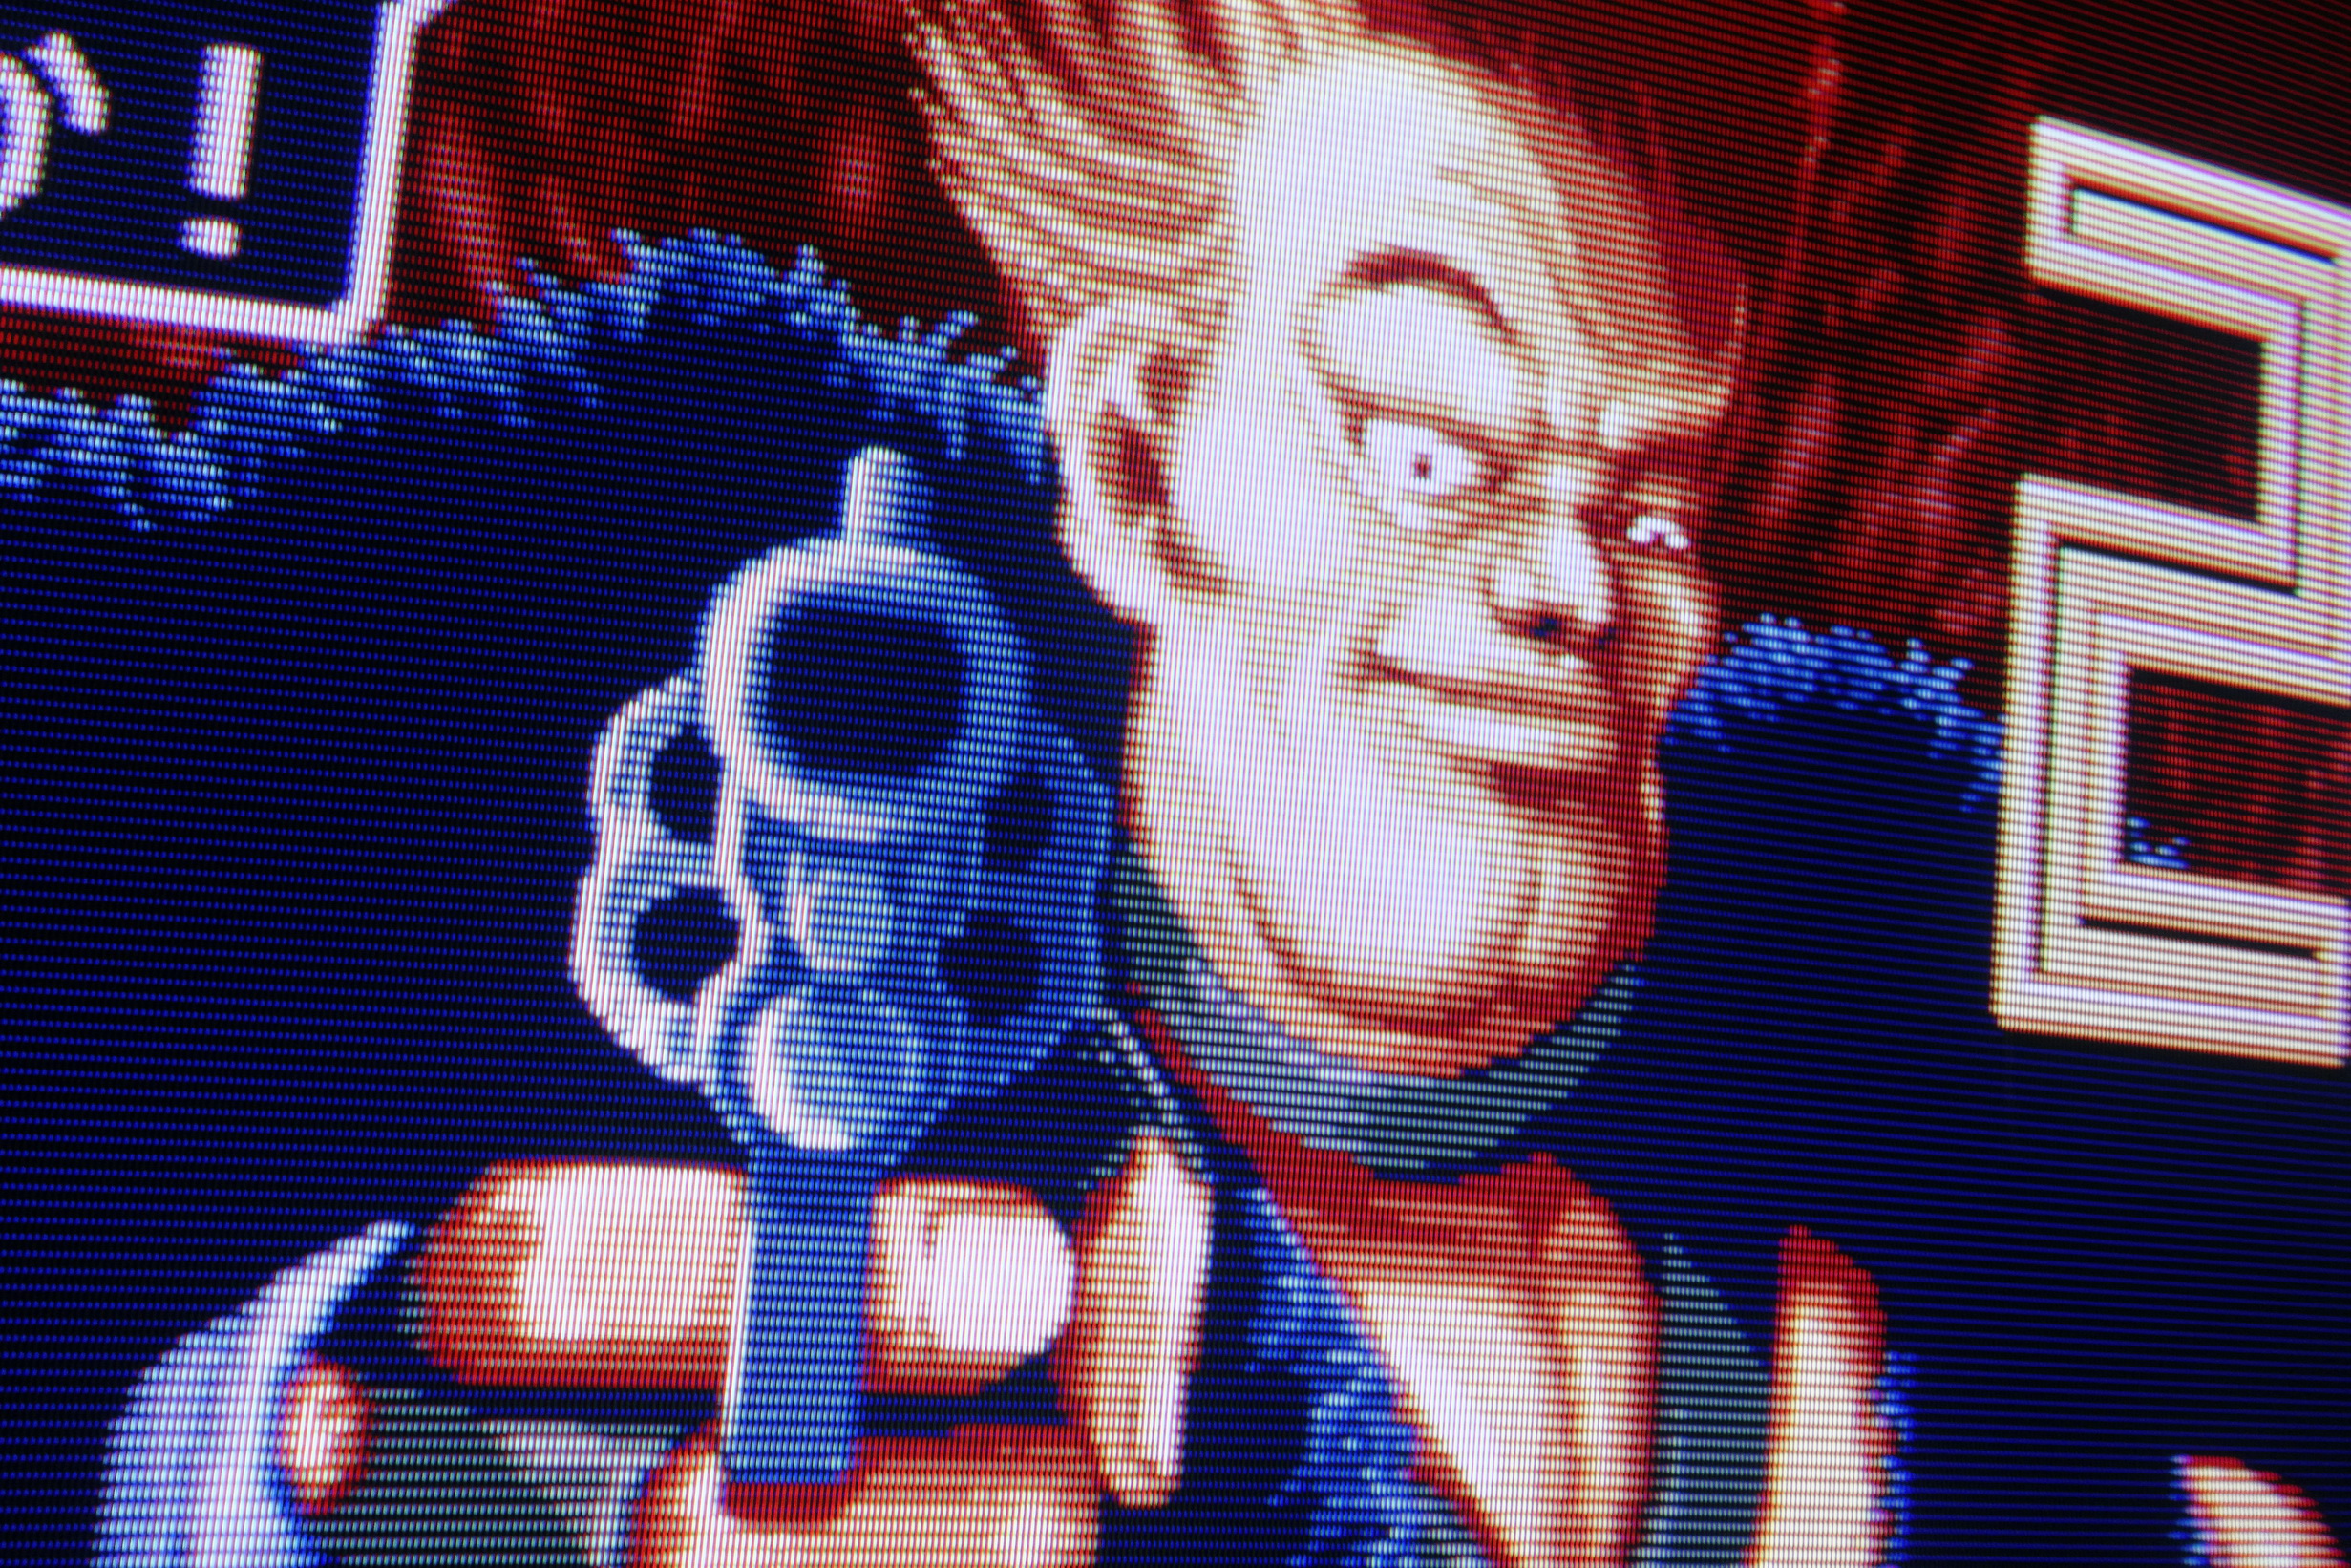
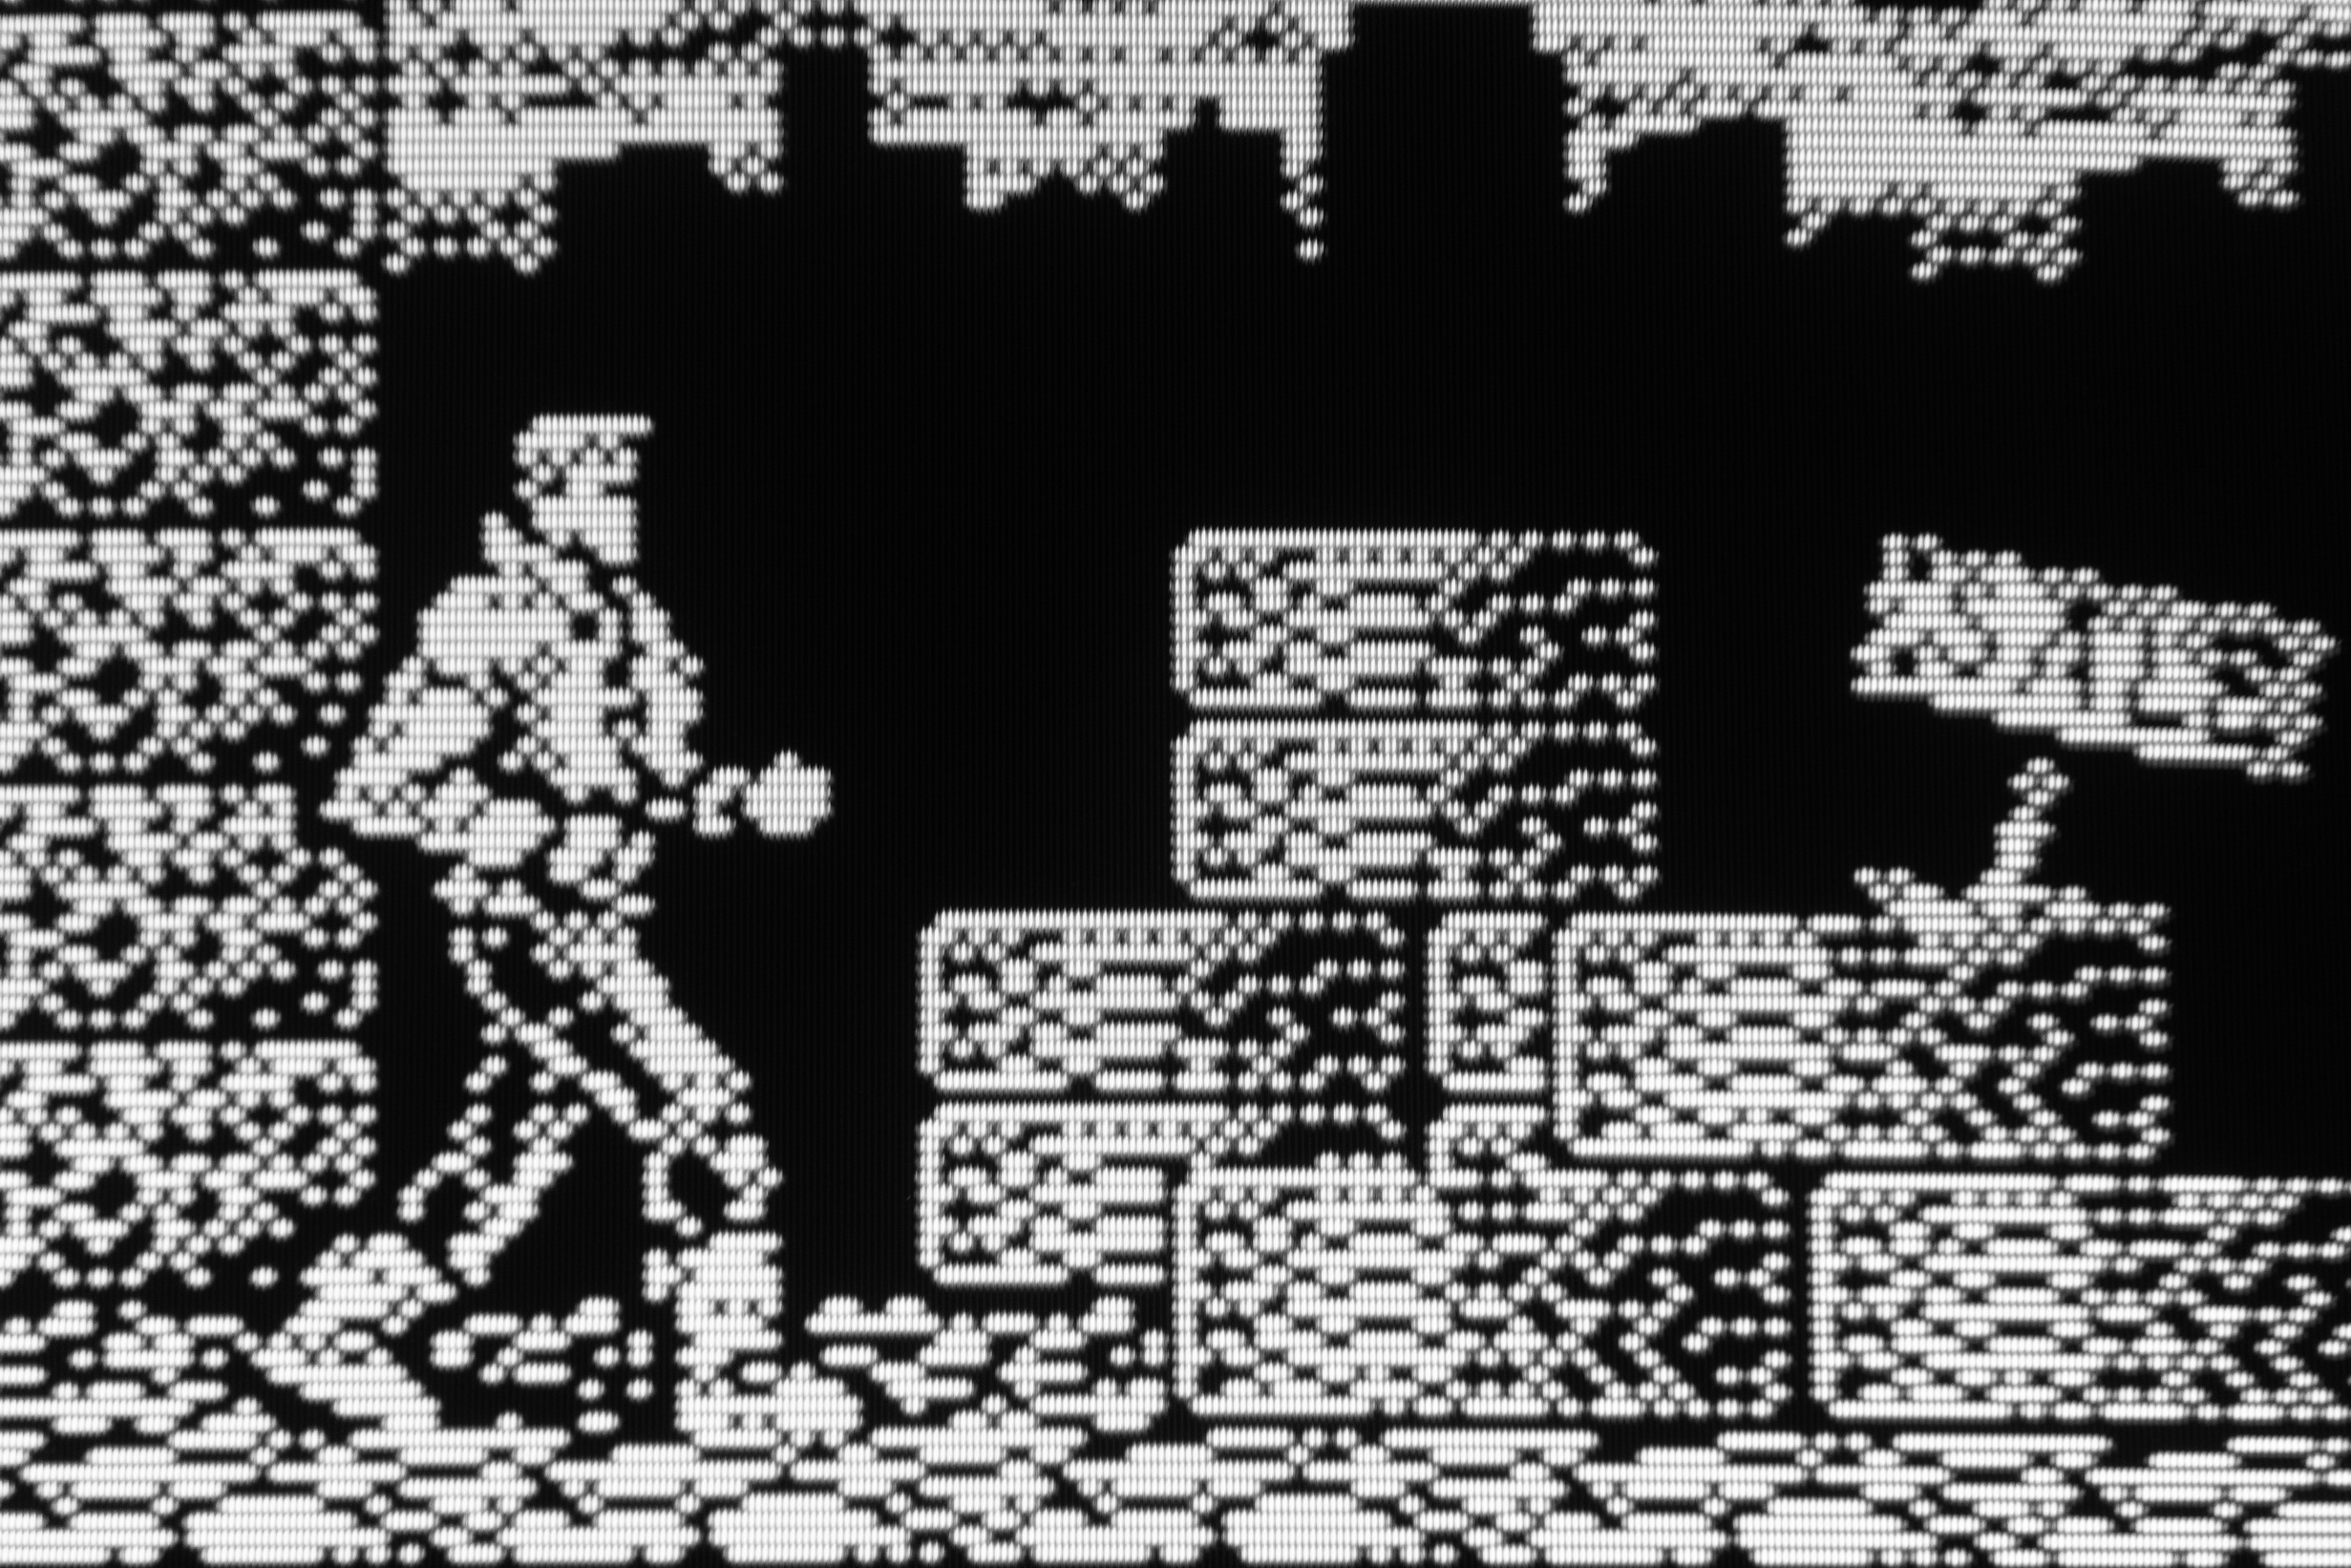
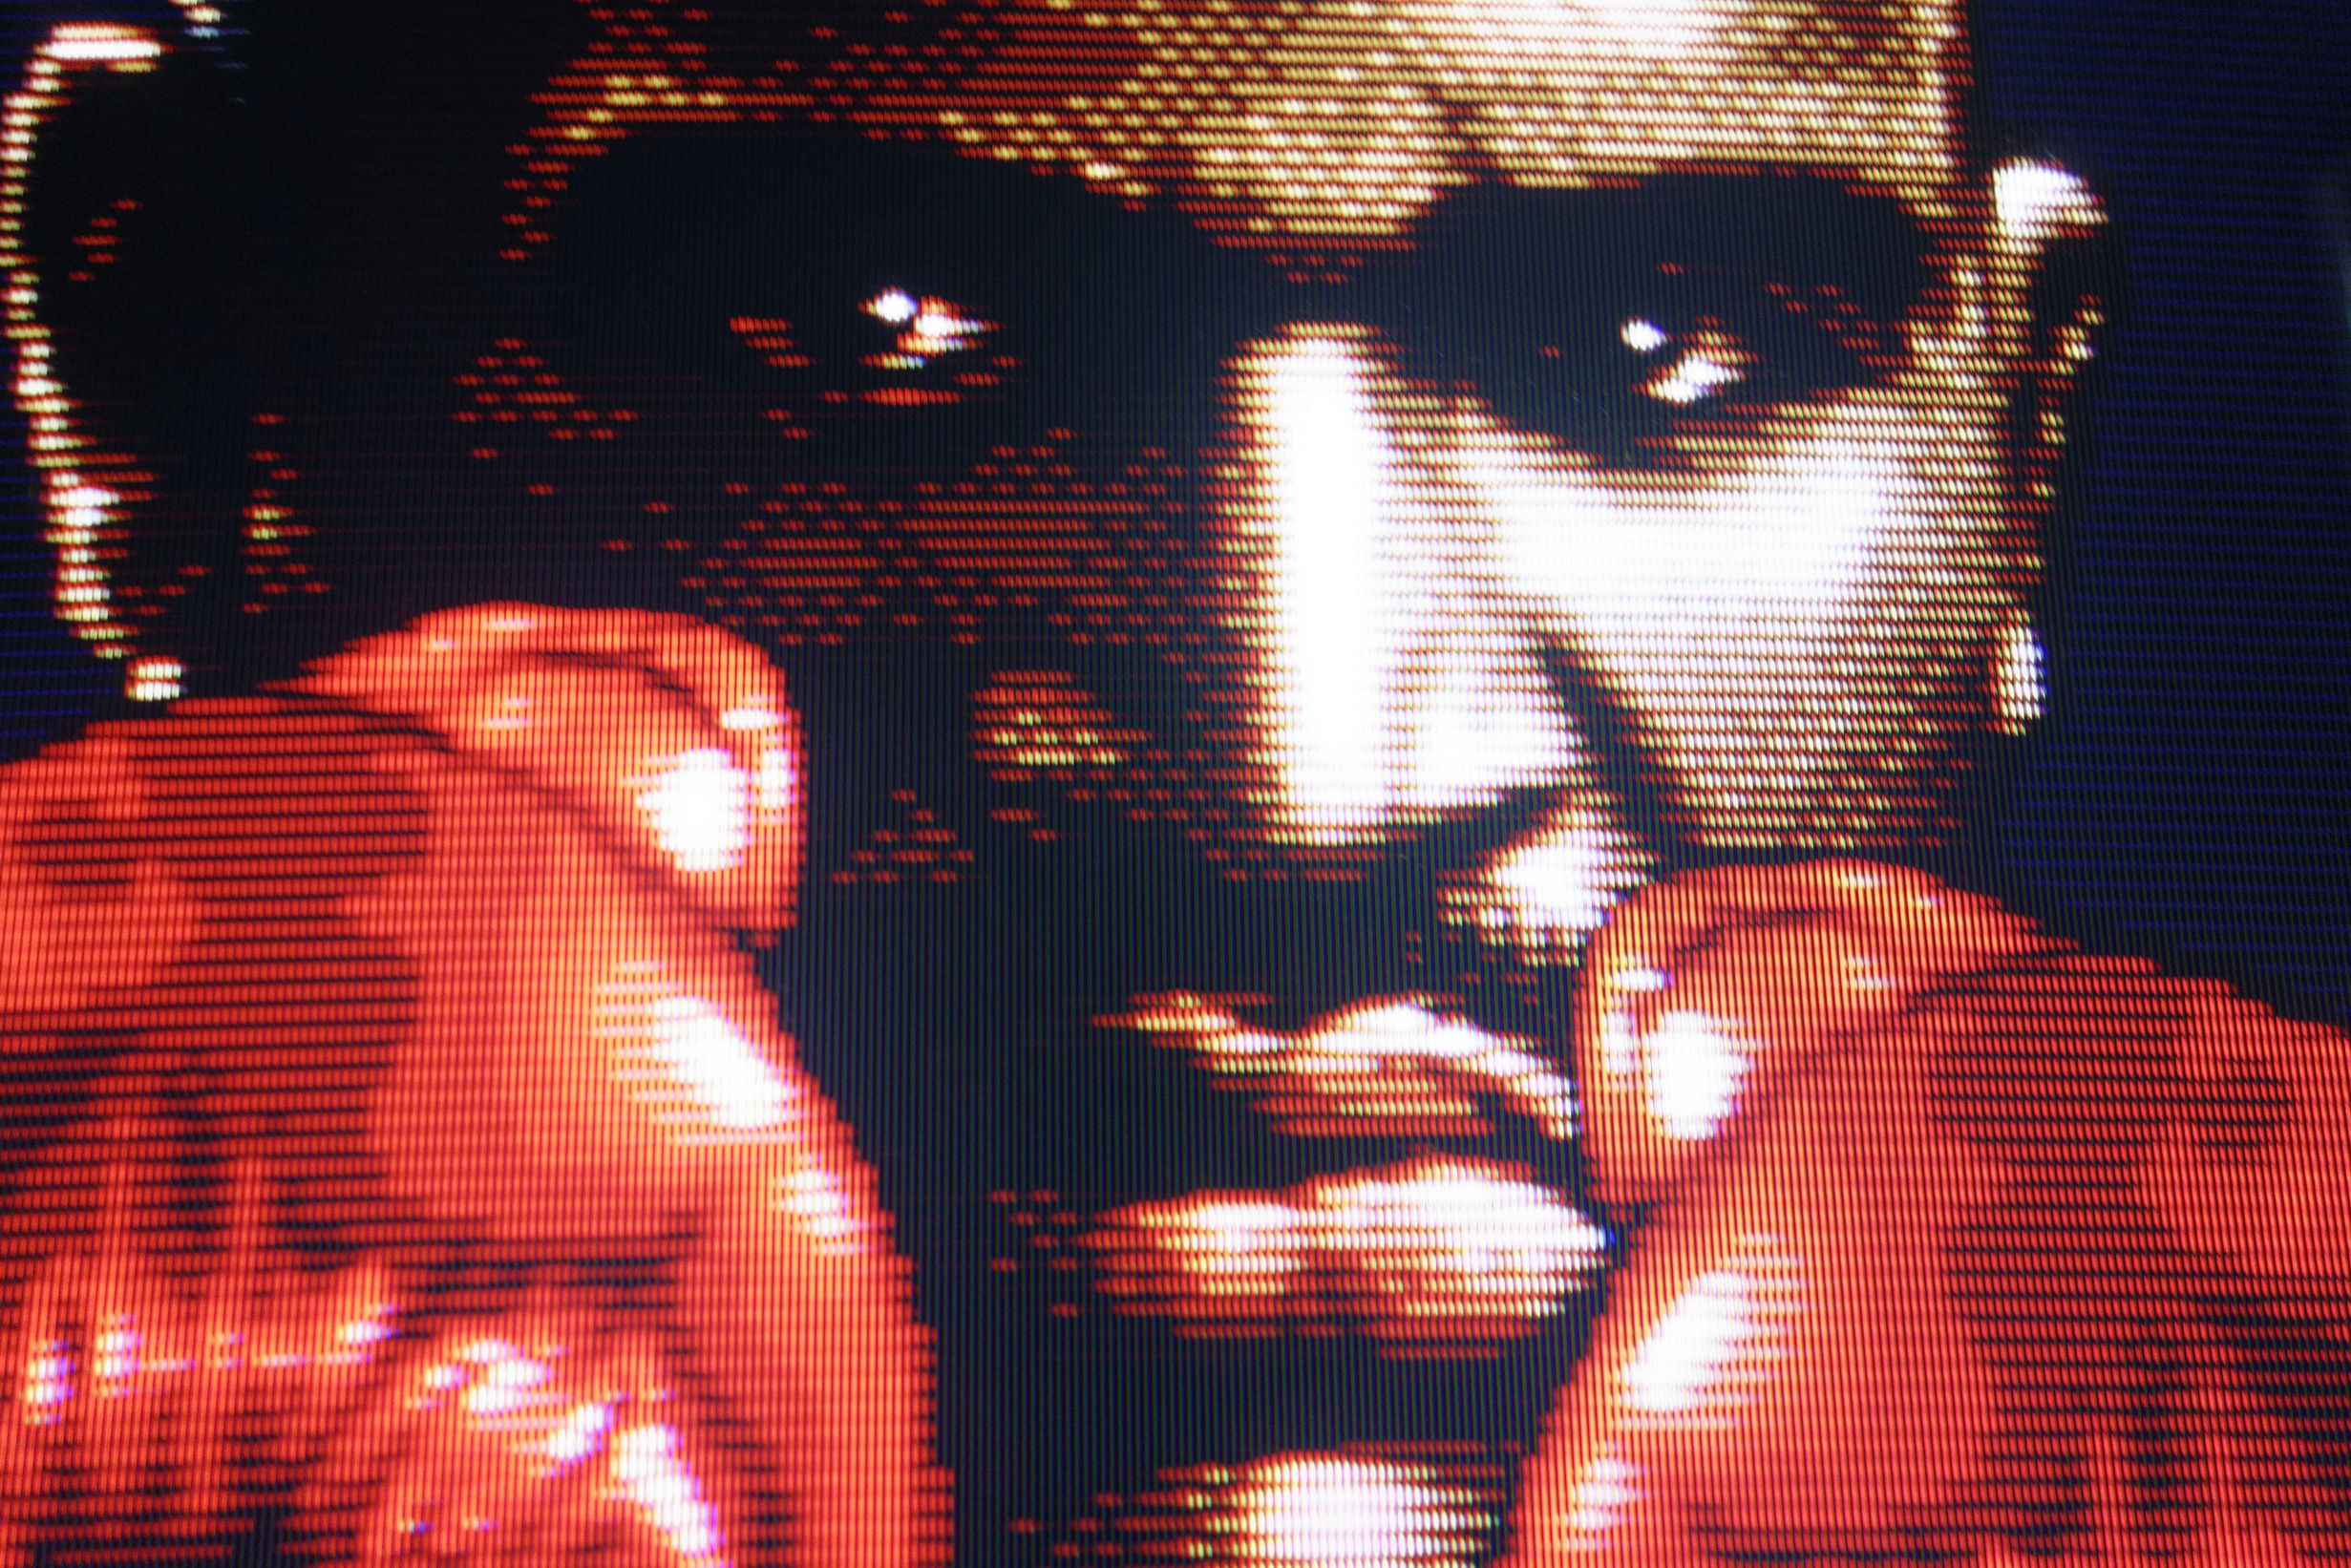
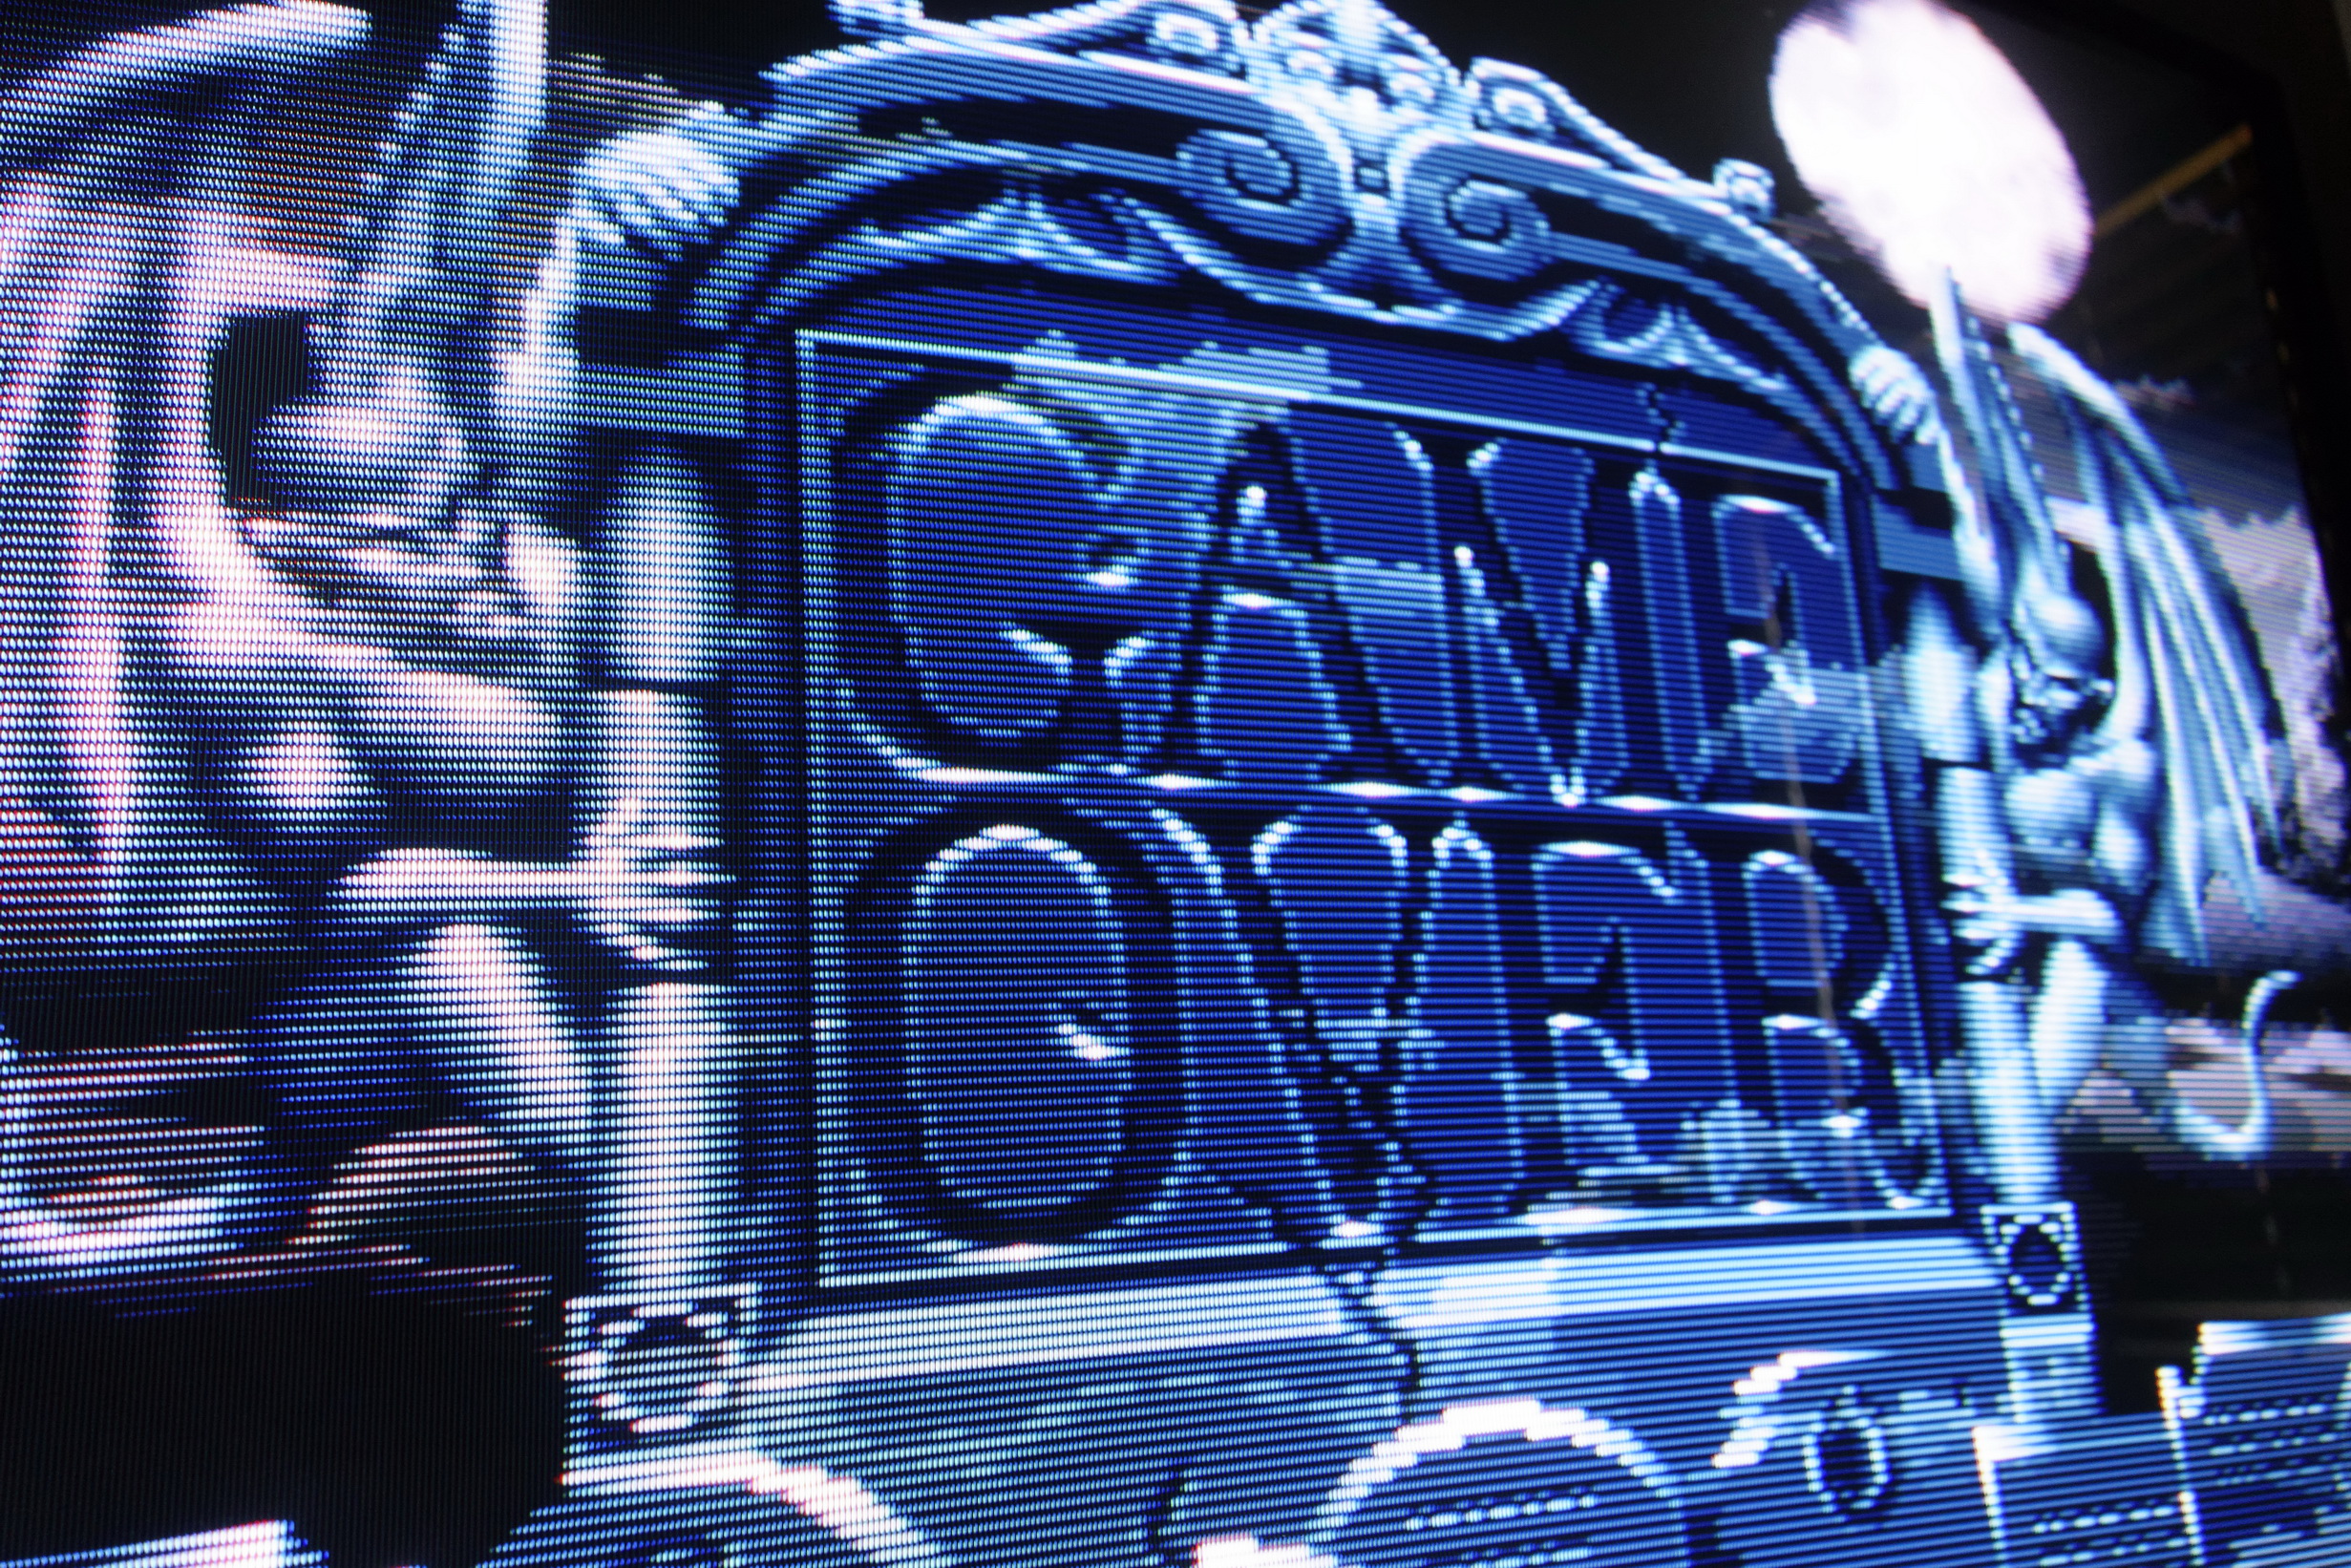
WHY? An image displayed by a CRT set has a specific "look", which is nigh on impossible to replicate on modern panels (even though using shaders and/or hardware solutions can get you quite close these days). It's down to a heady mixture of the intrinsic qualities of CRT displays, such as phosphors, glow, shadow mask/aperture, scanlines, glass, MAGNETS!, and subquantic quazar dust (citation needed). The games from 1970s-early 2000s era were designed on, and for CRTs, and look significantly different when displayed on modern TVs and monitors..
Nowadays the retro landscape is dominated by people using modern panels, and most of the images or videos available online are captured on these displays. This project will try to preserve the original CRT look, and build a collection of quality images coming from a variety of retro-platforms.
PROBLEMS? Moire. Khz. White balance... Is there anything harder to capture properly than a CRT display? Any advice on photographing CRTs would be most appreciated. I'm still learning and this is also the reason why the photos you can see in the first release can be imperfect. Also, sometimes moire will appear while viewing the images on a modern panel, even though there is none in the original photo. Adjusting the zoom level usually gets rid of it.
VIEWING THE IMAGES Bigger=better rule applies hers, since there is so much detail in a CRT image. Sometimes moire will appear while viewing the images on a modern panel, even though there is none in the original photo. Adjusting the zoom level usually gets rid of it.
If you'd like to see the TV's bezel borders (useful for measurements), you can increase the image's exposure using a photo editor.
This version of CRT SCR$ is just a trial trun of sorts, limited in scope and quality. Most images are whole-screen captures, with some handheld shots and not many close up ones. More of the latter ones should appear in the future releases.
HOW TO? Basic requirement: a CRT TV or monitor. Outputting from original machines is preferred, but FPGA/emulation as a source also counts, as long as it's mentioned and correct display settings are used in regard to aspect ratio/filters. All signal sources (eg RF, composite) are also welcome,- in some cases actually preferred. We strive for the best photo quality, but not necessarily coming from a "best" display, eg a professionally calibrated PVM. Back in the day, the lower quality sources were often the only ones available, and the artifacts they produced utilised by the devs for special effects.
QUICK MODE: you can achieve good results just by using your smartphone. Try to position the camera so the CRT geometry is more or less represented correctly, try to hold it as steady as possible, and take a photo. It's quite likely that the result will include at least one of the things mentioned in "Problems?" above, but for the more obscure machines even photos with flaws are ok.
ADVANCED MODE: here are some tips from my experience. Depending on your camera and environment you might want to experiment with them.
-to avoid reflections, I shoot in a dark room, avoiding any external light sources. You can still get good results shooting in daylight space or an evenly lit room, but mostly for the "busy" images, which haven't got many reflective areas.
-I keep the shutter speed mostly at 1/10s. You can often see the advice to match the refresh rate (or halve it) but it has never worked for me and produced the dark bar of varying sizes. Generally, try to experiment with speeds below 1/60s and adjust the aperture accordingly.
-ISO: I stick with 160-200 range.
-White Balance: between 6000-7000.
-focus: I adjust it manually, trying for maximum sharpness. This often brings out moire and makes colours duller. The former can be sometimes alleviated by trying to slightly reposition the camera. The latter can be dealt with in post process.
-using a tripod, even a makeshift one, is of course very helpful, since we're operating in the low shutter speed zone
-in post process, try to view the images at 100%, 1:1 zoom for maximum accuracy. Otherwise the moire/colours can be very misleading. Shooting tethered was a game changer for me, since trying to judge the photo quality from the camera's LCD display is practically unworkable. You really need to view it on a monitor, preferably zoomed 1:1, because the image can look drastically different (especially moire and colours) when zoomed out.
My workflow: shooting tethered, using a tripod, in a RAW format >>> making corrections in Lightroom/DxO/Capture 1 >>> exporting jpeg >>> applying lightning and geometry (not always) corrections in ACDsee Pro.
This is all done instantly after the shot, side by side with live TV display for comparison. All the corrections are minimal and aim to reflect the actual image from the CRT as possible (so, not "adjusted to taste"). The monitor used for post process has sRGB space profile installed and is calibrated using some common website templates, not with any professional tools though.
Despite all these measures and striving for maximum accuracy, in many (most?) cases the images taken aren't 1:1 representations of the actual CRT screen. Not sure if such accuracy is actually possible. There are just too many factors involved, and my skills are not that great either. Still, the images in the main directories could be mostly described as "pretty close" - in some cases perhaps even better than that.
Exceptions from this process are included in the Misc directory. It includes images with unknown names/sources, handheld shots, images which weren't checked for colour accuracy, etc.
STUCTURE OF THE COLLECTION There are three main directories:
"Original Hardware" - contains photos from original machines
"Other" – photos from non-original sources such as emulation, FPGA and other
"Misc" – various unclassified and unverified shots
Most of specific sub-directories have "RAW" directory, which contains some of the original RAW files used to produce JPEGs. Due to the RAW file sizes, only some of the them were included.
NAMING SYNTAX:
Game name – platform name – signal type (RF, RGB, etc) – PAL/NTSC – TV/monitor model – tags
Tags:
(!) - denotes photo from an original hardware
(X) –photo which might have some colour discrepancies or significant moire artifacts
(COMP) – comparison shot which should have a corresponding one from different signal source but with the same settings (eg; Amiga's Supremacy photographed from Composite and RGB signal, without changing the camera position and settings).
HARDWARE
The gear used during making this version of the project:
Cameras:
-Canon 60D
+ EF-S18-55mm f/4-5.6 IS STM
+ EF50mm f/1.8 STM
-Sony RX100
CRTs:
-Sony KV21FT1K
-Sony KV21FQ10K
-Sony KV21CT1K
-Sony KV21FX30K
-PC VGA 17" Samsung SyncMaster 793df
Sources:
Original hardware:
-MSX Philips VG-8020
-ZX Spectrum 48K (+ Spectra RGB add on + composite mod)
-ZX Spectrum +2A (+RGB fix)
-Commodore 64C (+LumaFix mod)
-Atari 65XE
-Amstrad 6128
-Amstrad GX4000 (modded to 6128)
-Amiga 500 (+modulator)
-Atari 1040 STFM
-Pentium 4 based PC + Ati Radeon 9600 (MSDOS & Win 98)
-Playstation (PAL/NTSC)
-Playstation 2 (PAL/NTSC)
Other:
-MiSTer FPGA (+ AG6200 based Direct Video dongle)
-RPi +3B (+Pi2SCART)
-i5 based PC with ATI Radeon 6450 (crtemudriver for MAME & emus)
-Wii (Gamecube+emus)(PAL/NTSC)